I first discovered Square Foot Gardening while trying to
figure out a way to grow a garden at a house we were renting. G.W. is in the
Army, so we rent houses at each duty station. You’d be surprised at how
irritated landlords can get when you take a rototiller to the yard of a rental
house! I had to find another way.
With Square Foot Gardening (SFG), you don’t dig up the
ground. Instead, you build a raised bed that sits on top of the ground. You can
even build a bed with a solid bottom that can be placed on a patio or driveway.
It was the perfect solution to my problem of how to put in a garden without
ripping up a yard.
Here is the link to the official Square Foot Gardening
website. If you’ve never heard of this
method of gardening before, you will be amazed at its simplicity and
effectiveness.
Since a SFG sits on top of the dirt in your yard, it doesn’t
matter how crappy your soil is. You’re going to fill the raised SFG bed with a
special planting mix, not dirt. Because of the planting mix used, there’s
virtually no weeding. Since the beds are raised, you don’t walk around in them
compacting the soil, so there’s no need for digging or tilling every year. SFG
eliminates all that hard work. It sounded too good to be true. A garden without
all the work!
This is an example of a SFG bed. The photo is from the SFG Forum website.

The beds are simple to make and you can use scrap lumber. Just don't use treated lumber, which has icky chemicals that will leach into the soil and contaminate your garden.
I tried it and it worked. I was growing an amazing amount of
food in two small (2’ x 4’) raised beds that were only 6” deep. I wish I’d
taken photos of that little garden with huge tomato plants and basil that was
so tall it was toppling over! Because I don't have photos of my own garden at it's peak, I'm posting photos from someone else's garden, again found on the SFG forum.

Pretty amazing what you can grow in a few square feet, huh? It's all about the special soiless growing medium used. And even that is simple to do. You fill the raised beds with a mixture of 1/3 peat moss, 1/3 vermiculite and 1/3 compost. That's it. Easy peasy!
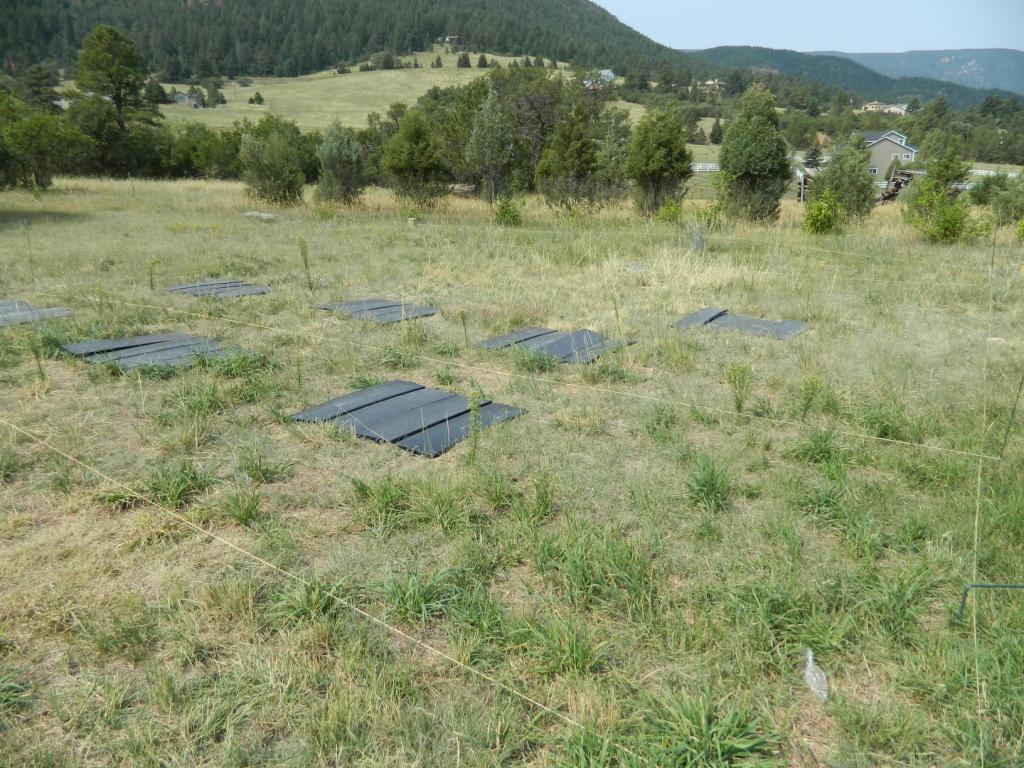
Now that we’re settled on Crossed Sabers Ranch, I could
revert to the old method of digging up a big plot of land and putting in a
traditional garden. But why would I go back to that old way with all the digging,
hoeing, and weeding? Besides, the soil
here is almost pure sand. It would take literally a ton of compost to make it
into something you could grow in.
The SFG I'm planning is pretty ambitious. I'm going to build it in phases. Many gardeners make the mistake of putting in a monstrous garden that ends up neglected because they underestimated their desire to garden or the amount of time involved in caring for it.
The first "phase" of my garden consists of nine prefabricated plastic 3' x 3' raised beds and four wooden beds that I built myself. Two are 2' x 10' x 12" deep and two are 4' x 10' x 12" deep.

I bought the lumber for the wood beds at a big box store. They cut it into the lengths I needed, which helped a lot. It's hard to get 16' 2x12's home in the back of a Toyota Tacoma! Before we got too deep into this, I have to tell you that I do not have any real skill or experience with building anything. Yet. However, I think these raised beds turned out OK and will certainly do what they were made to do.
Even if you've never picked up a board in your life, you can do this, too.
The first step is to measure out and drill the pilot holes for the deck screws that hold the bed together.
 |
| Pilot holes marked..,. |
 |
| ...and drilled.
|
I used 3" deck screws to hold it all together. For a while there, I got all wrapped up in getting everything square. Some of the boards were curved and one had a wicked twist to it. I could feel myself getting all spun up over it. Being a Type A person is a blessing and a curse.
After taking a step back and reassuring myself that it's a garden bed, not a piece of fine furniture, I waded in and started putting it all together.

I'm still getting the hang of this blog thing and forget to take photos. I built both of the 2' x 10' beds before it occurred to me to take a picture.
Here's one of the 4' x 10' beds during assembly.

When finished, these larger beds were HEAVY! I about busted a gut trying to drag one over to the garden site. It bothers me to ask G.W. for help with one of my projects. But I sucked it up and asked him to help me get the two beds moved.
Here are they all are.

These four beds are going to hold perennials. The smaller ones will have strawberries. The larger ones will have asparagus and rhubarb.
In my next garden post, I'll show you how to prevent the grass from coming up through the raised beds and what you use to fill the beds.
My asparagus and garlic is arriving in about a week, so I have to hurry to get these next few steps done!